How to set up a VMware vSphere Lab in Virtual Machines, with DRS and HA


I recently wrote a (reasonably!) lengthy article on how to set up your own VMware vSphere lab or test environment consisting entirely of Virtual Machines, running off of one piece of host hardware. This is really handy as a lot of people new to Virtualization often think they need to purchase full on server equipment to create a white box, or find second hand servers off of eBay. Even more often, they make the mistake of overlooking the CPU feature set required to run vSphere – Hardware Virtualization, buying 64bit capable servers (good), but lacking the Intel VT or AMD-V feature-set required for vSphere (bad!)


This is when running everything virtualized comes in really handy. As well as keeping your hardware and lab requirements/size down, you have everything you need all in one installation of VMware Workstation. You’ll also be able to test out some really cool features that vSphere / vCenter Server has to offer – such as HA (High Availability) and DRS (Distributed Resource Scheduling). In the article I also make reference to a few best practises to have when configuring the real deal for production use. I hope this comprehensive guide is useful for those of you looking to set something like this up!


VMware lab consisting - nested VMs running in Virtualized ESXi hypervisors.


Read the article here on Simple-Talk.com to get started and see how its all done!


Modify your NIC MTU size setting in Windows Registry

A quick and easy blog post today on how to modify your NIC MTU (Maximum Transmission Unit) size setting in the Windows Registry.

By default your MTU won’t be defined in registry. Microsoft state that (Link):

The MTU is usually determined by negotiating with the lower-level driver. However, this value may be overridden.

To change your MTU setting in Windows Server 2003 or 2008 use the following steps:

  • Open regedit as an administrator account on the server in question.
  • Navigate to HKLM\System\CurrentControlSet\services\Tcpip\Parameters\Interfaces\[Choose the interface in question] (Do this by checking the correct IP address is in the settings under this key for the adapter you are configuring)
  • Once you are in the correct key for your interface, right-click and select new DWORD value (32 bit).
  • Call it MTU
  • Give this a decimal value equal to the setting you would like your MTU to be (measured in bytes).

For more information about Maximum Transmission Unit sizes, have a look at the official Wikipedia article.

Here is a screenshot of an MTU setting I made on this server using 1400 bytes as an example. This would obviously be tuned to whatever amount you are wanting to use for your NIC and specific application settings.

Shrink a SQL Database using SQL Management Studio

Here is a quick “how to” on shrinking a SQL Database using SQL Management Studio.

1. Launch SQL Management Studio and login with your desired credentials.

2. Connect to the SQL Database engine instance and expand it by double clicking on it.
3. Expand your “Databases” node and right-click the specific database you would like to shrink.
4. Go to “Tasks” -> “Shrink” and then click “Database”

5. There are some optional settings at this point. Read more about the process here if you would like to learn more. Otherwise continue with the defaults by clicking “OK”.

Here are the results on a DB I shrunk today (before & after):

How to pin an application on a network / mapped drive to your Windows 7 or 2008 R2 taskbar

So here is something that has been annoying me lately. On my work machine I use a couple of applications that are stored on mapped network drives. When you try and right-click the .exe to select “Pin to taskbar” there is no option to do this. Here is a work around that will allow you to get these network stored applications / exe files pinned to your taskbar in Windows 7 or Server 2008 R2.

1. Copy the .exe file of your application on the network drive to a temporary location on your local machine or server’s drive.

2. Make a shortcut to this .exe on your desktop.

3. Right-click on this shortcut and then select the “Pin to taskbar” option which will now be available.

4. Right-click the pinned icon on the taskbar and then right-click the shortcut in the list of options that appears – select Properties.

5. Edit the “Start in” and “Target” fields to point to the actual location of the original application on the network location.

6. You can now remove the temporary shortcut and .exe that you copied as these are not needed anymore.

You’ll now have your network location application pinned to your Windows 7 or 2008 R2 taskbar.

Creating Primary and Secondary Domain Controllers (Windows 2003 Server)

I was creating a new Domain the other day for testing purposes and thought I would document the process as I went along to put a short tutorial up over here.

This is how to create a Primary Domain Controller (Windows Server 2003) as well as a Secondary DC to act as a backup. I will not be covering FSMO roles or changing of FSMO roles in this tutorial however. The how-to assumes that you have two freshly installed Windows 2003 Servers.

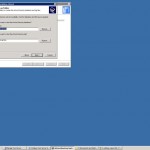
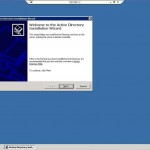
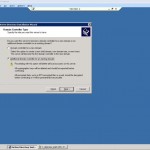
1. Create your first DC. On your first freshly installed Windows 2003 Server machine, go to Start->Run, then type “dcpromo” then hit enter. Alternatively you can go to the “Manage your server” wizard and add a new Role of “Domain Controller (Active Directory)”. After running dcpromo, click Next till you get to the “Domain Controller Type” page. Here we will select “Domain controller for new domain”.

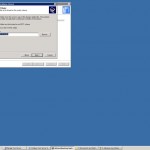
2. Next we select “Domain in a new forest”.

3. You can now enter your full DNS name for the new domain. I used “shogan.local”. Don’t use your web domain here as this is an “internal domain name”. Use something like “yourcompanyname.local”.

4. For the netbios name, leave as default. It should just be a shortened version of your domain specified in step 3. I believe this to help with compatibility when NT, 95, 98 machines are looking at a Windows 2000 or higher domain.

5. Next you can specify the location of your database and log folders. I usually leave mine in their default location.

6. Same for the Shared System Volume folder. I leave mine as default (C:\WINDOWS\SYSVOL).

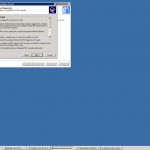
7. Next the wizard will check to see if you have DNS installed on this machine. If not, select the second option “Install and Configure the DNS server on this computer”. This is the easiest option and the installation will set DNS up for you.

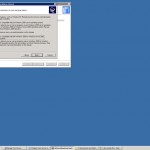
8. The next screen deals with compatibility. I selected the second option here (Windows 2000 and 2003) as I won’t have any other servers below Windows 2000 or 2003 on this particular domain.

9. Enter your Directory Services restore mode password on the next screen and keep this safe.

10. Continue the wizard and the installation will begin.

11. Once the Active Directory Installation wizard is complete, click Finish, then restart the server.

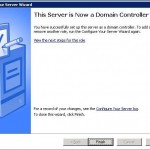
12. Once it has restarted, you should get a screen stating “This Server is now a Domain Controller”. Click Finish and you are done with the first DC!

13. Next, I go to the second server with a fresh install of Windows 2003 Server.

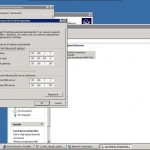
14. Set your IP addresses up. Now that you have a DNS server on the other DC, you can point this Server’s Preferred DNS address to the IP of the Primary DC we just set up. In this case my Primary DC has an IP of 192.168.1.1 and the second DC we are about to set up gets an IP of 192.168.1.2.

15. Run dcpromo on the new server.

16. This time we are going to choose “Additional Domain Controller for an existing domain” in the Active Directory installation wizard.

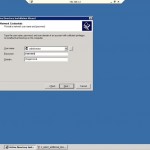
17. The next screen asks you for your “network credentials”. Enter your new domain administrator username and password (Set up from the first DC). This should be “Administrator” and whatever password you specified during the install. Enter your domain name specified in step 3 above. For example I used “shogan.local”.

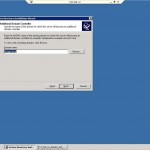
18. Enter the domain name again (shogan.local) in my case on the next screen.

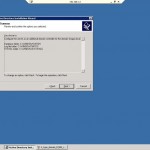
19. Complete the rest of the installation wizard as we did in the steps for the first DC. This just involves specifying log folders etc… I usually leave the rest of the options at their defaults. Once you are done, set up should ask you to restart the server.

20. Restart once complete and login with your domain admin account. You should now have a fully functional secondary DC. Any changes you make in Active directory on either server should now replicate across to the other DC.

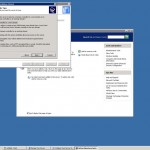
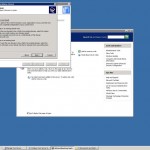
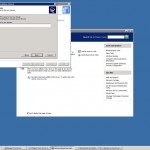
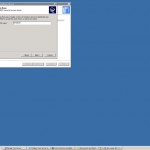
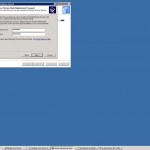
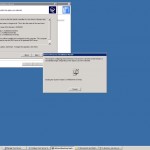
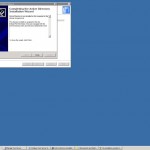
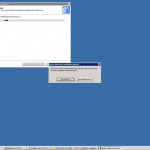
Here are the images related to each step of the installation process. Click any thumbnail to bring up the larger version.

Feel free to post any questions or comments in the comments section below.