Hashicorp just announced a new open source product called Boundary. Hashicorp Boundary claims to provide secure access to hosts and other systems without needing to manage user credentials or expose wider networks.
I’ll be testing out the newly released open source version 0.1 in this post.
Installation
I’m on macOS so I used homebrew to get a precompiled binary installed and added to my system PATH for the quickest route to test. There are binaries available for other operating systems too.
brew install hashicorp/tap/boundary
brew upgrade hashicorp/tap/boundary
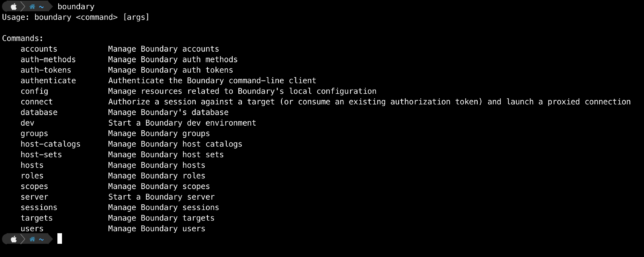
Running boundary reveals the various CLI commands.

Bootstrapping a Boundary Development Environment
Boundary should be deployed in a HA configuration using multiple controllers and workers for a production environment. However for local testing and development, you can spin up an ‘all-in-one’ environment with Docker.
The development or local environment will spin up the following:
- Boundary controller server
- Boundary worker server
- Postgres database for Boundary
Data will not be persisted with this type of a local testing setup.
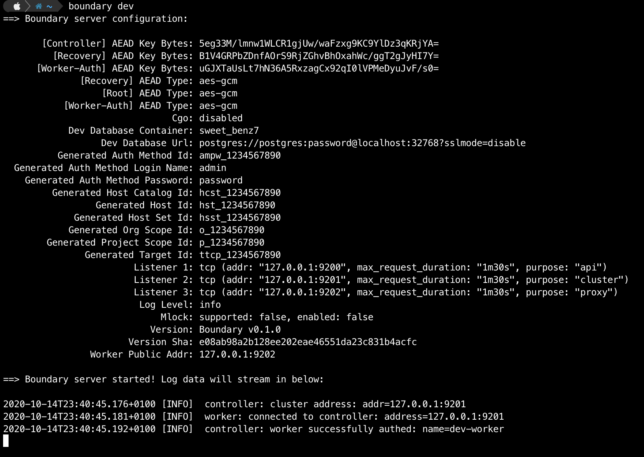
Start a boundary dev environment with default options using the boundary dev command.
boundary dev
You can change the default admin credentials by passing in some flags with the above command if you prefer. E.g.
boundary dev -login-name="johnconnor" -password="T3rmin4at3d"
After a minute or so you should get output providing details about your dev environment.

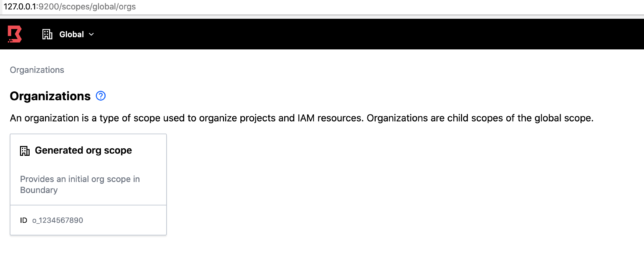
Login to the admin UI with your web browser using http://127.0.0.1:9200 along with the default admin/password credentials (or your chosen credentials).

Boundary Roles and Grants
Navigate to Roles -> Administration -> Grants.
The Administration Role has the grant:
id=*;type=*;actions=*
If you’re familiar with AWS IAM policies, this may look familiar. id represents resource IDs and actions represents the types of actions that can be performed. For this Administration role, a wildcard asterisk * means that users with this role can do anything with any resource.
Host Sets, Hosts and Targets
Navigate to Projects ▸ Generated project scope. Then click Host Catalogs ▸ Generated host catalog ▸ Host Sets ▸ Generated host set. On the Hosts tab click on Generated host. You can view the Type, ID and Address along with other details of this sample host.
Being a local environment, the address for this host is simply localhost.
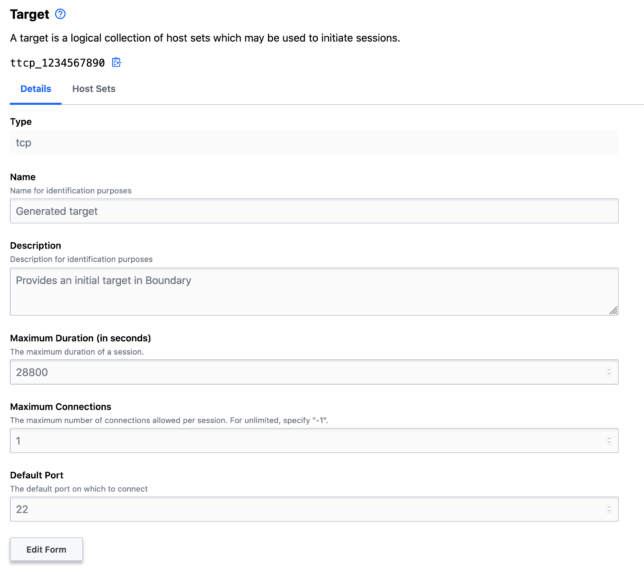
To establish a session to a host, you need a Target. For example, to create an SSH session to a host using Hashicorp Boundary, you create a Target.
You do this with a host set. The host set provides host addressing information, along with the type of connection, e.g. TCP.
Explore the Targets page and note the default tcp target with default port 22.

Connecting to a Target
Using your shell (another shell session) and the boundary CLI, authenticate using your local dev auth-method-id and admin credentials.
boundary authenticate password -auth-method-id=ampw_1234567890 \
    -login-name=admin -password=password
Your logged in session should be valid for 1 week.
Now you can get details about the default Generated target using it’s ID:
boundary targets read -id ttcp_1234567890
To connect and establish an SSH session to this sample host simply run the boundary connect command, passing in the target ID.
boundary connect ssh -target-id ttcp_1234567890
Exec Command and Wrapping TCP Sessions With Other Clients
The -exec flag is used to wrap a Boundary TCP session with a designated client or tool, for example curl.
As a quick test, you can use the default Target to perform a request against another host using curl.
Update the default TCP target port from 22 to 443. Then use the boundary connect command and -exec flag to curl this blog 🙂
boundary targets update tcp -default-port 443 -id ttcp_1234567890
boundary connect -exec curl -target-id ttcp_1234567890 \
     -- -vvsL --output /dev/null www.shogan.co.uk
Viewing Sessions
Session details are available in the Sessions page. You can also cancel or terminate sessions here.
Thoughts
Hashicorp Boundary already looks like it provides a ton of value out of the box. To me it seems like it offers much of the functionality that proprietary cloud services such as AWS SSM Session Manager (along with it’s various AWS service integrations) provide.
If you’re looking to avoid cloud services lock-in when it comes to tooling like this, then Boundary already looks like a great option.
Of course Hashicorp will be looking to commercialise Boundary in the future. However, if you look at their past actions with tools like Terraform and Vault, I’m willing to bet they’ll keep the vast majority of valuable features in the open source version. They’ll most likely provide a convenient and useful commercial offering in the future that larger enterprises might want to pay for.
