Using Placeholder Templates With Xargs In The Pipeline

pipes running along a wall

Using placeholder templates with xargs gives you a lot more power than simply using xargs to append args onto the end of a command.

I previously blogged about how to use xargs to append arguments to another command in the pipeline. This post goes into a bit more detail and shows you a more powerful way of using xargs.

Basic Xargs Example

With a typical, simple xargs command, you might append one argument onto the end of an existing command in the pipeline like this:

echo "this is a basic xargs example" | xargs echo "you said:"

The above command results in the output:

you said: this is a basic xargs example

Placeholder Templates With Xargs Example

Now, here is a simple example of using a placeholder, or template in your command, and passing your argument into that.

echo "this is a basic xargs example" | xargs -I {} echo "you said: {}"

The output is exactly the same as with the basic example. However, you can now use the curly braces placeholder to move the argument placement to anywhere in your command.

You’re no longer constrained to it being on the end of the echo (or whichever command you’re using). You can also do multiple placements of the argument in your command.

For example:

echo "FOO" | xargs -I {} echo "you said: {}. Here is another usage of your sample argument: {}. And here is yet another: {}"

A Slightly More Practical Example

Enough of the simple echo examples though. How about using this for a more practical, real world example?

In the following example, we want to list a bunch of AWS S3 buckets, and then do a summary output of their total size in GiB. We cut out the bucket name using cut from the initial listing that is returned with aws s3 ls.

aws s3 ls | cut -d' ' -f3 | xargs -n1 aws s3 ls --summarize --human-readable --recursive s3://

Using xargs to append the bucket name from the pipeline looks like it would work, as we only need it right at the end of the aws s3 ls command. There is an issue though, xargs would add a space, and we want the bucket name appended to s3:// without a space.

Using The Template or Placeholder

This is where using a placeholder or template with xargs can come in handy.

aws s3 ls | cut -d' ' -f3 | xargs -n1 -I {} aws s3 ls --summarize --human-readable --recursive s3://{}

It’s also worth noting that you can change your template or placeholder token with the -I parameter. It doesn’t have to be {} as in the examples above.

In summary, your usage of xargs can be levelled up by using the -I parameter to leverage placeholder or template tokens.
Select, match and pipe output into another command with jq, grep, and xargs

select-match-and-pipe-output-with-jq-grep-xargs

This is a quick reference post if you’re looking to pipe output into another command on Linux using xargs.

The pipeline is immensley powerful and you can leverage it to act on different stages of your full command to do specific selecting, matching, and manipulation.

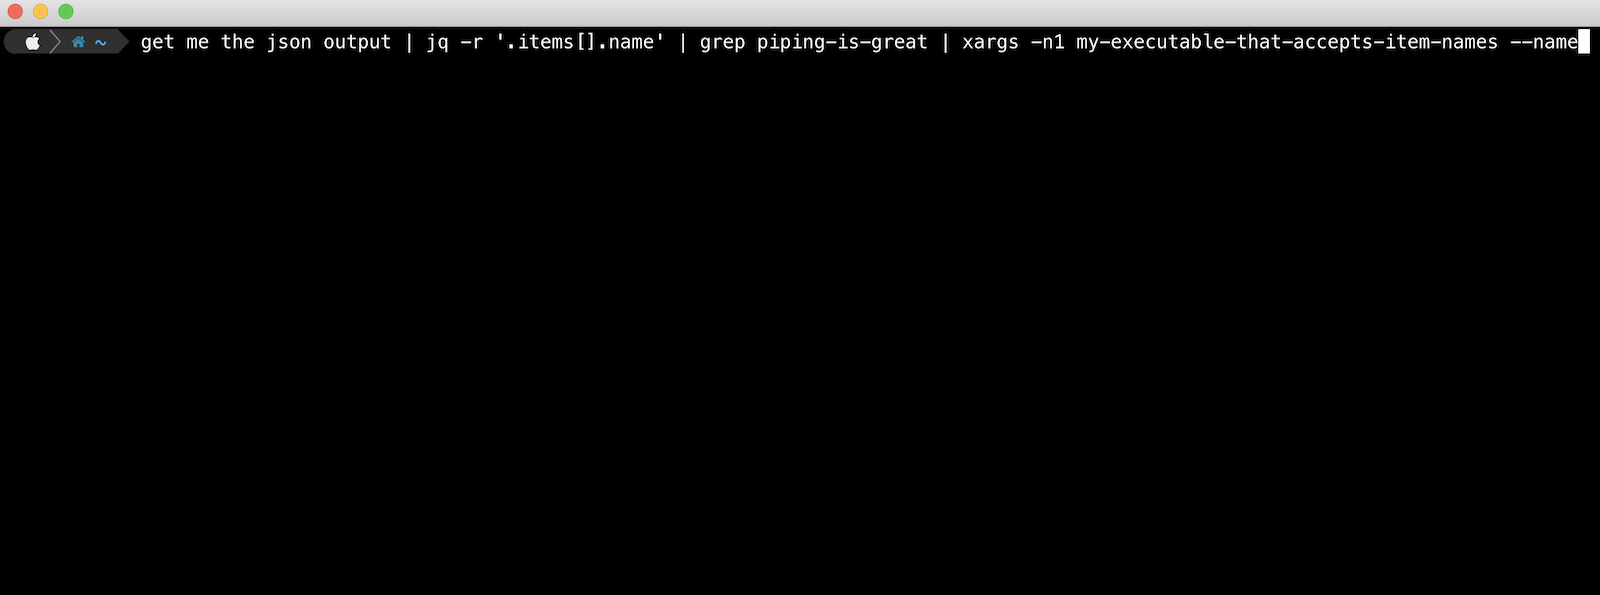
Say you are running an executable that outputs a bunch of JSON and you want to select certain a certain subset of this data, pattern match it, and then send that matched data into another command.

This is the perfect use case for a mixture of the jq, grep and xargs commands in the pipeline.

Practical example with xargs

Here is a practical example where you might want to list all your AWS CodePipeline pipelines, match only on certain ones, and then execute (Release Changes) on each of them.

aws codepipeline list-pipelines | jq -r '.pipelines[].name' | grep project-xyz | xargs -n1 aws codepipeline start-pipeline-execution --name

The piped command above does the following:

  • Lists all AWS CodePipelines with the command aws codepipeline list-pipelines
  • Uses jq to ‘raw’ select the name from each pipeline object in the pipelines[] array that the above command outputs
  • Sends each pipeline name into grep to match only those containing the string “project-xyz”
  • Pipes the resulting pipeline names using xargs into the command aws codepipeline start-pipeline-execution --name. The -n1 argument tells xargs to use at most max-args of 1 per command line.

Jarvis standing desk and workspace configuration

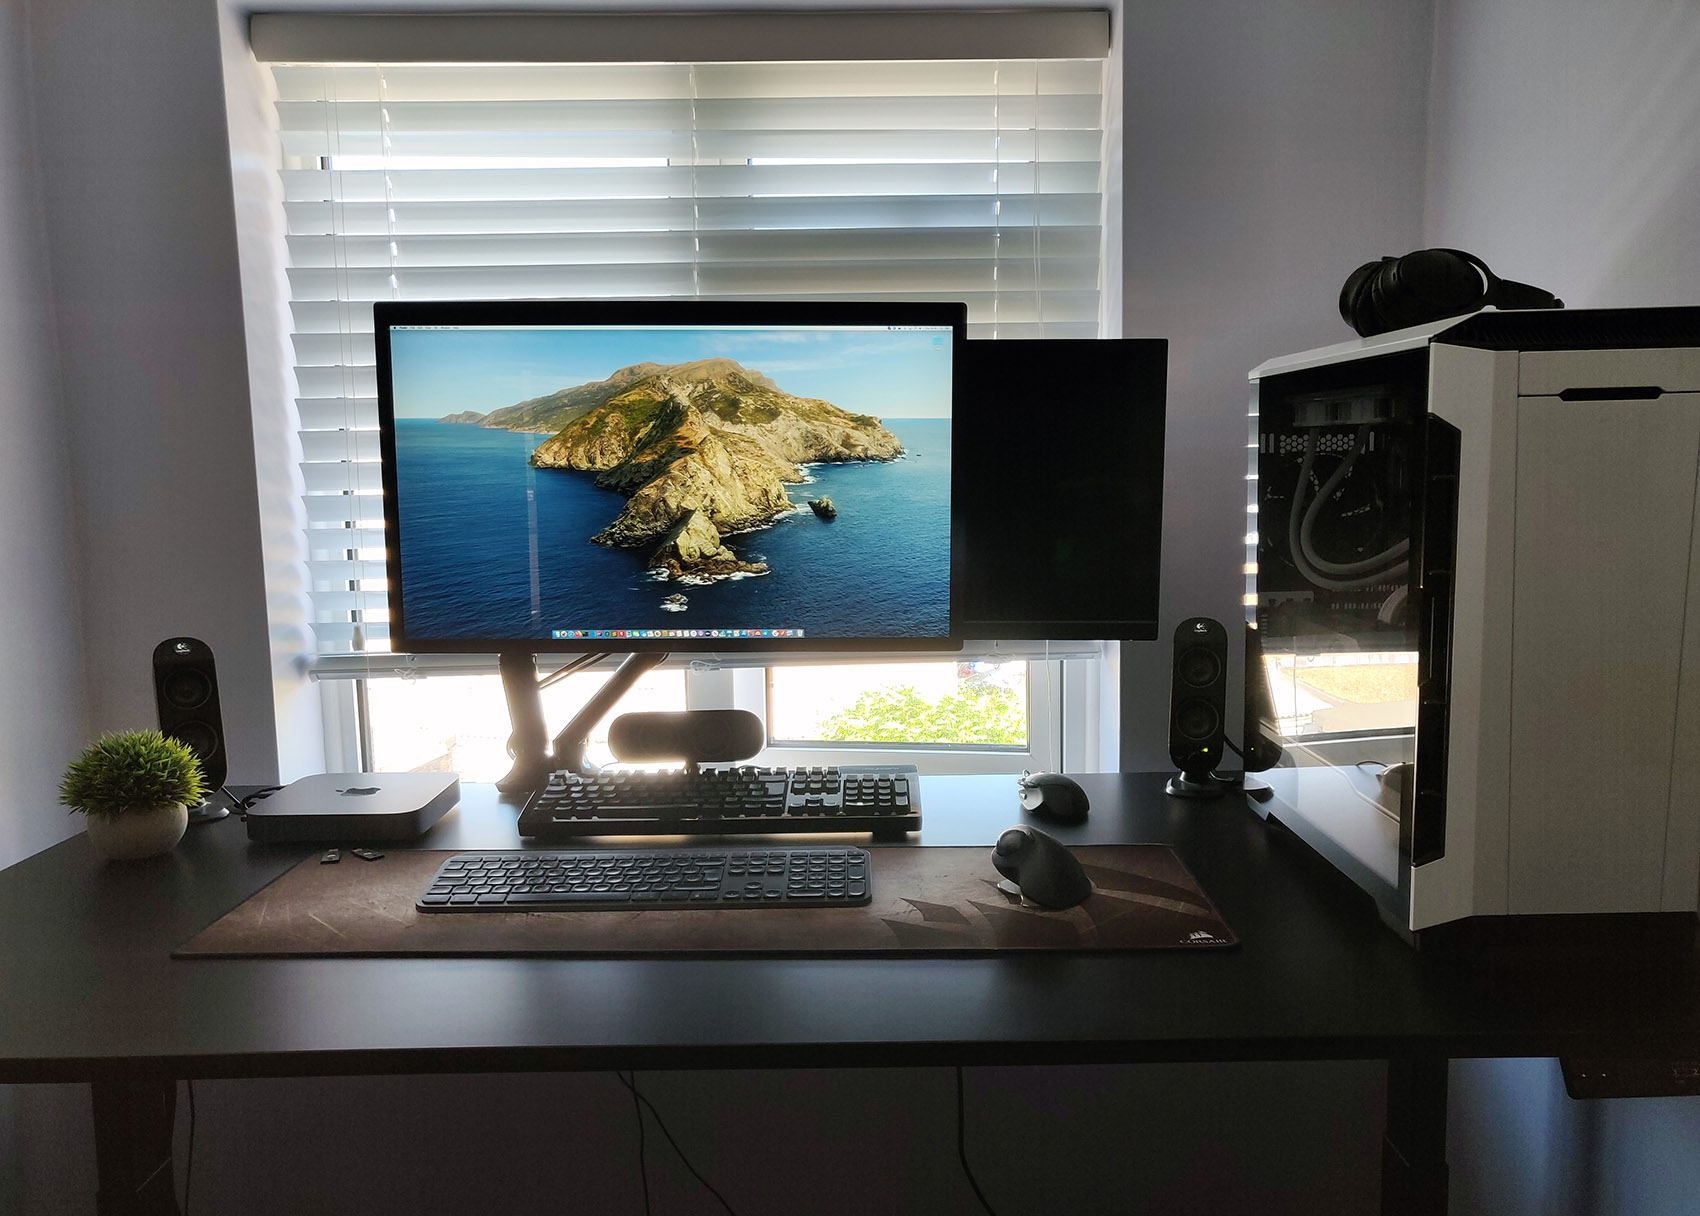
Jarvis standing desk setup

I recently invested in a standing desk for my home office. On the recommendation of a friend, I purchased the Jarvis Laminate Standing Desk from fully.com.

I’ve been working predominantly from home for around 1.5 years now (at least 4 days a week), and since going fully remote at 5 days a week after COVID-19 I decided to invest more in the home office.

After having noticed myself slouching at my desk on more than one occasion, I got curious about standing desks. After reading about the apparent benefits of standing more (as opposed to sitting at a desk all day), and on the recommendation of a friend I pulled the trigger on this fully motorised setup.

Here are the specifications and complete configuration I went for:

  • Jarvis Laminate Standing Desk (160 x 80 cm, black finish)
  • Jarvis Lifting Column, Mid Range
  • Jarvis Frame EU, Wide, Long Foot Programmable
  • WireTamer Cable Trays (2x)
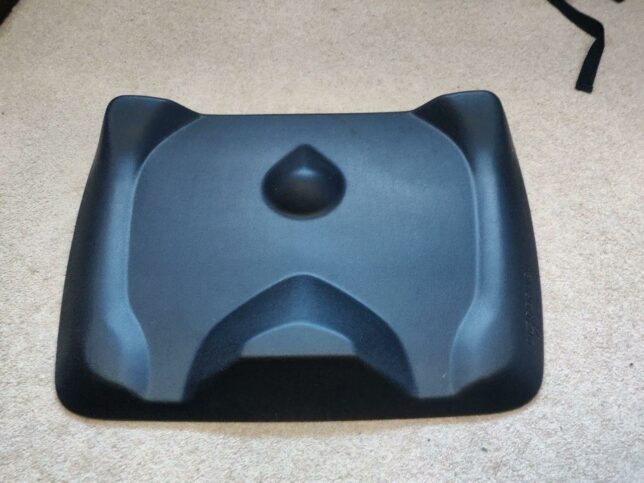
  • Topo Mini Anti-fatigue mat

The total for the desk parts and standing mat came up to around £600 excluding VAT, which I think is a great price considering the health benefits it should bring about over the longer term.

The build

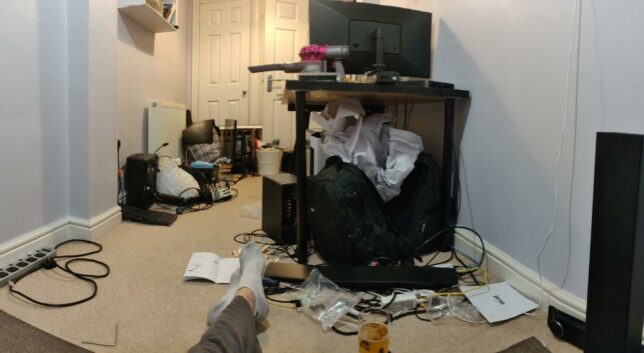
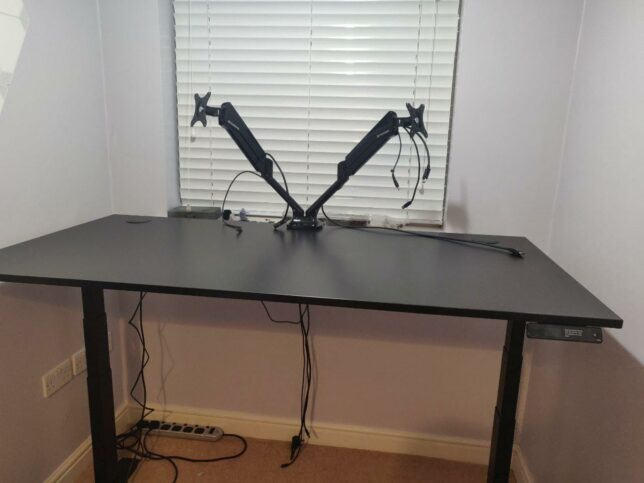
I got stuck in one evening after work, and thought it might be 2 hour job. I was very wrong. Here is photo I took of the chaos I unleashed in the office after taking down my old desk and beginning assembly of the Jarvis.

jarvis desk assembly, defeat.
Note the crossed legs, socks, and beer as I take a breather, almost admitting defeat for the night.

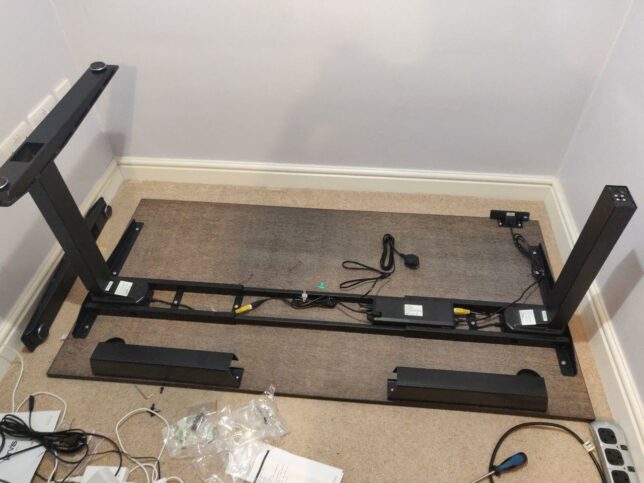
Soon I was making progress though.

jarvis standing desk progress
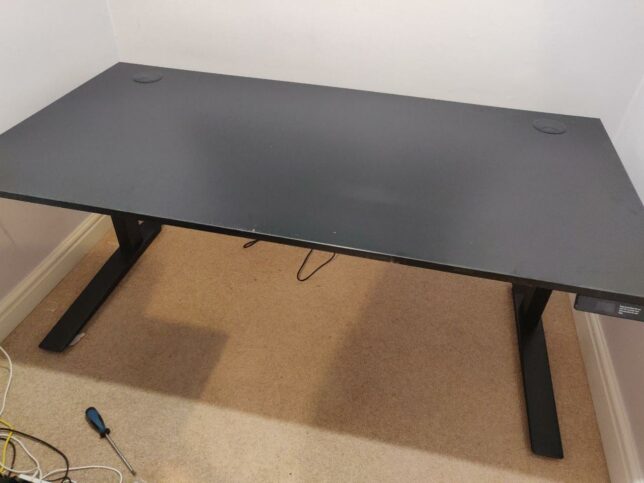
jarvis desk assembled and upright

Multi-monitor configuration

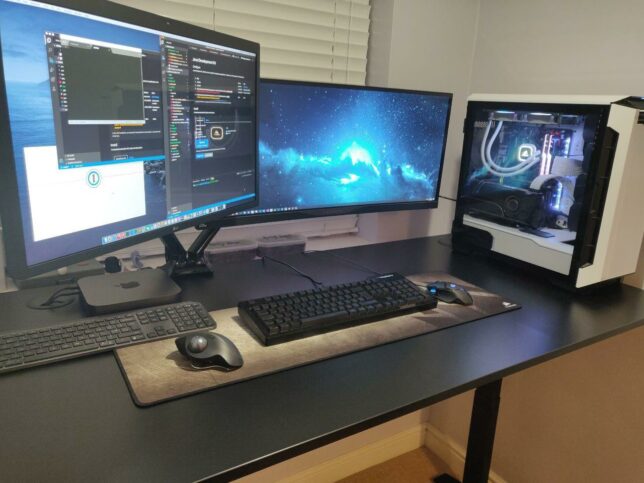
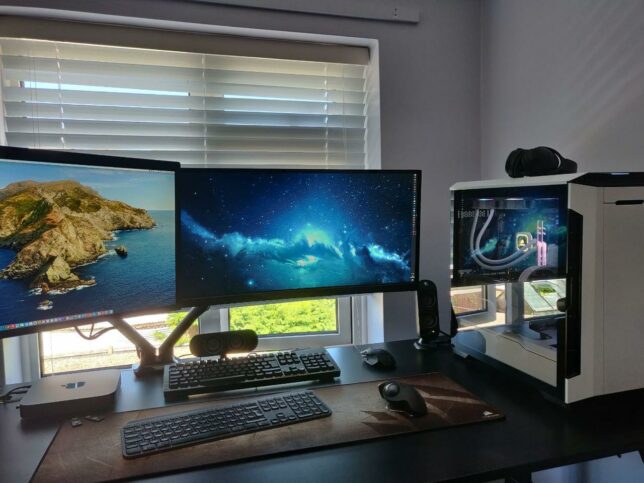
I’ve got two computers that needed setting up. One is my PC, the other is an Apple Mac Mini (the main work machine). So next on the list was a decent adjustable multi-monitor stand. I ended up getting:

  • FLEXIMOUNTS F6D Dual monitor mount LCD arm

This was the strongest arm I could find. I could not (at the time) find anything that would fit my 34″ Acer Predator ultra wide LCD. (It’s pretty heavy).

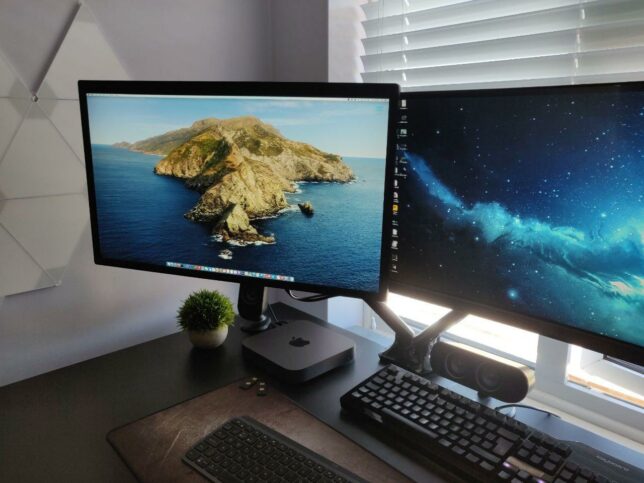
Although this mount is only compatible up to 30″ LCDs, it seems to cope with my Acer Predator on one side, and my LG 5K Retina 27″ LCD display on the other.

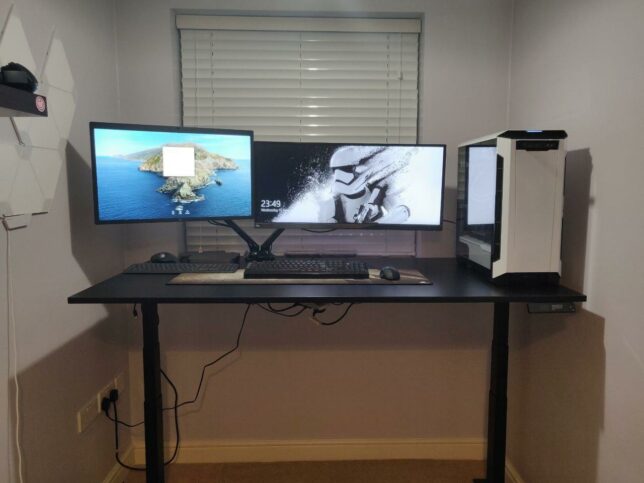
the monitor dual mount setup on the desk

Around midnight that evening I finally had everything configured and in order. I booted up both machines and raised the desk to try it out.

Adjusting to, and actually working at the desk

I’m not fully committed to standing all day (at least not yet). I tend to spend around 3 hours standing each day, and the remainder sitting. I’m slowly increasing the standing time as I go on.

The Top Mini anti-fatigue mat definitely helps. I also noticed wearing my light, minimalist running shoes feels good while standing and working too.

topo mini anti-fatigue mat
The topo mini mat

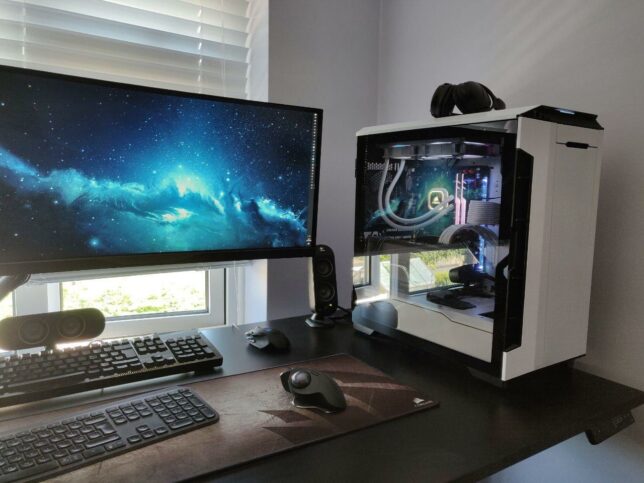
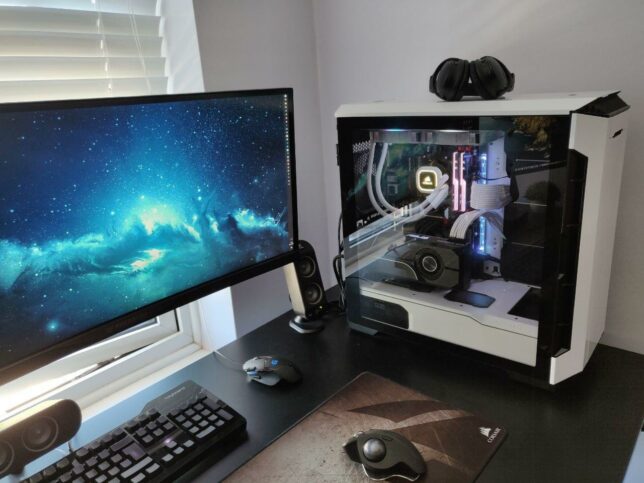
Some more angles of the full setup

Lastly, here are some photos of the final setup. Certainly a farcry and total overhaul since the days of this home office setup of mine circa 2009!

In summary, I’m very happy with the new setup. My office is a little narrow and crammed, but this configuration helps me move around a lot more and I feel better for it.

This is post #8 in my effort towards 100DaysToOffload.

Kube Chaos game source and executable release

kube chaos screenshot destroying a pod

Source code here: https://github.com/Shogan/kube-chaos

I recently blogged about a small game I made that interfaces with any Kubernetes cluster and allows you to enter cluster nodes and destroy live, running pods.

I mentioned I would make the source available if there was any interest, so here it is.

After a little bit of code clean-up, and removing my 2D Shooter Bullet and Weapon System and 2D Neon Grid asset code from the game, the source is now available. These modules are game development modules/assets that I sell on the Unity Asset Store, and as such could not include in the source here. The fancy grid/background effect is therefore missing in this version.

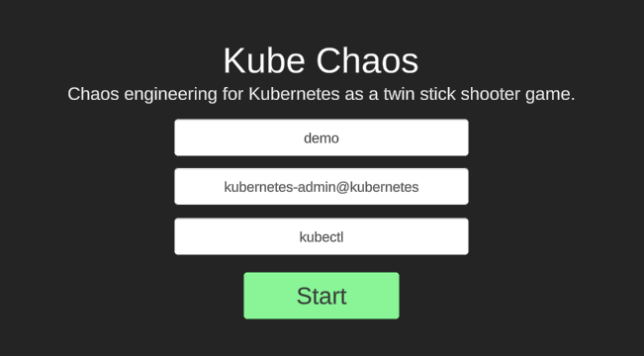
I’ve also added an initial Windows build in the releases section, which is ready to go. Just unzip, run and enter your kube context/namespace details to get going.

the kube chaos start screen

If you decide to compile from source yourself, just make sure you have Unity 2019.4 or later installed and you should be good to go. I’ve not yet tested on macOS or Linux, but

This is post #7 in my effort towards 100DaysToOffload.

3D Printing Useful Parts

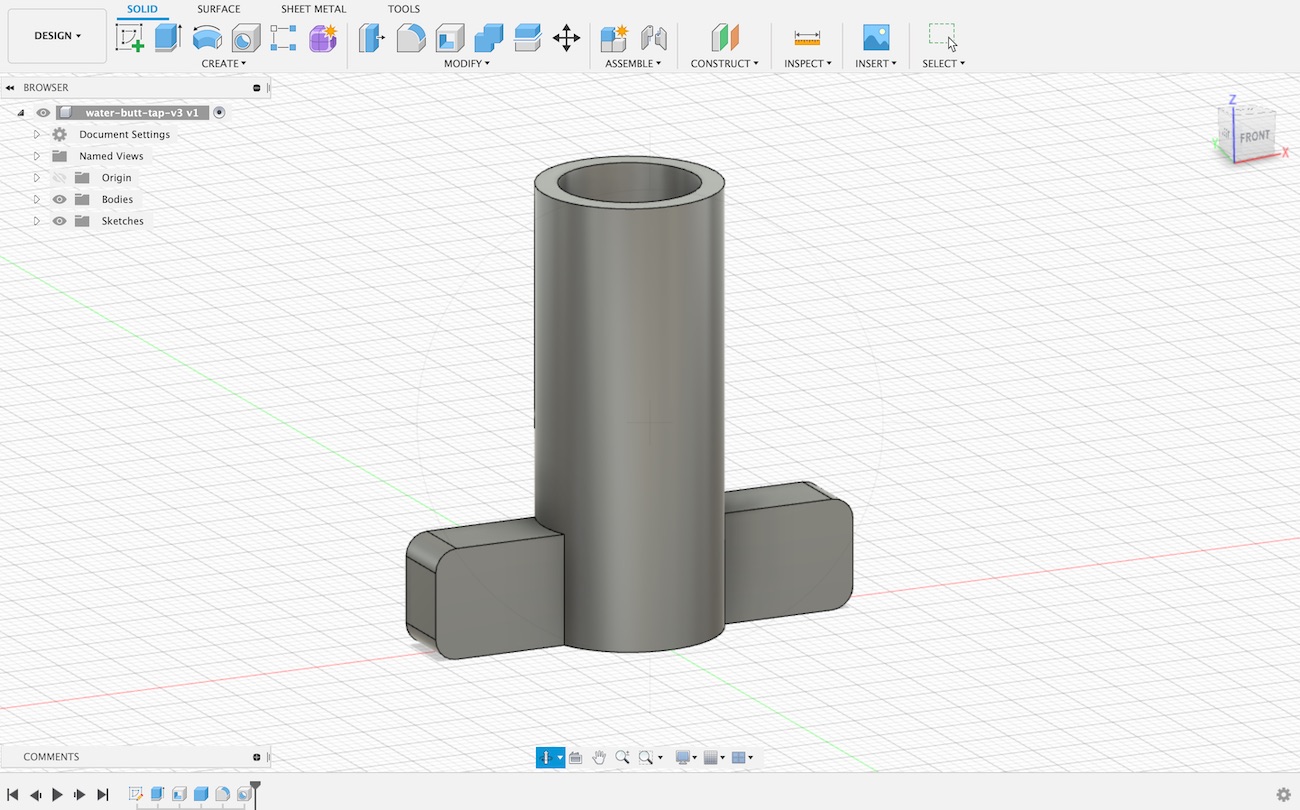
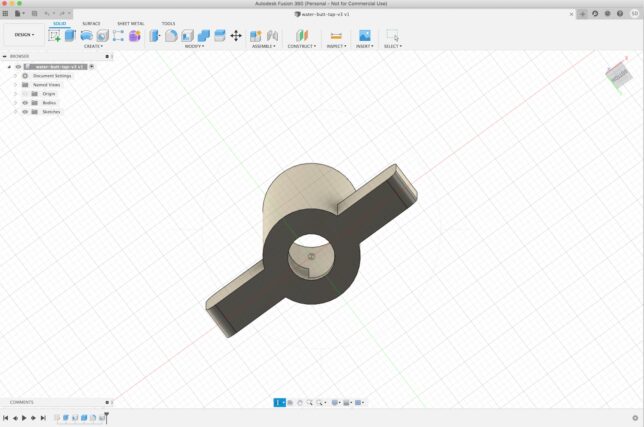
water tap design perspective view from fusion 360

I purchased my first 3D printer about 6 months ago after having putting the idea off for a year or so before that. For a while now I’ve had a fascination with being able to use 3D printing for hobby projects and bespoke creations.

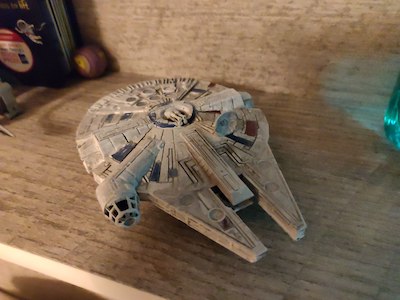
From purchase until just recently I had only been printing 3D models for fun. Figurines, Star Wars replicas, and other random items. I even printed a Millenium Falcon (in two halves) and painted it for my oldest son.

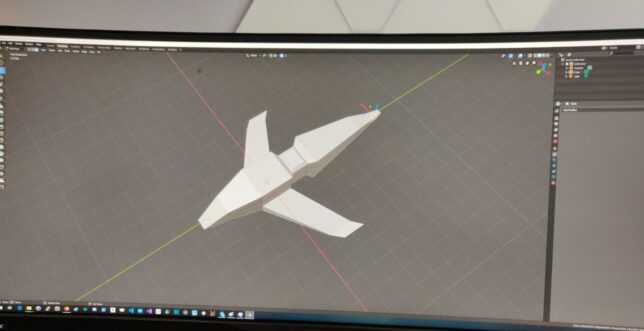
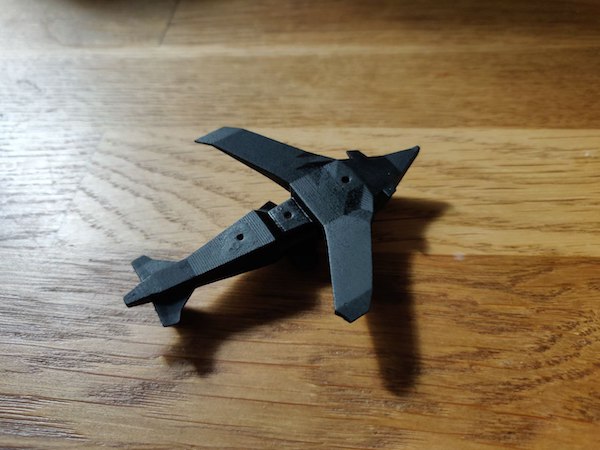
After printing these pre-made 3D models, my oldest son and I sat together and created a simple ‘dropship’ model in Blender which we also printed.

These have all been a lot of fun, but after a while I had a hankering to use the 3D printer for some good around the house too.

3D printing useful parts

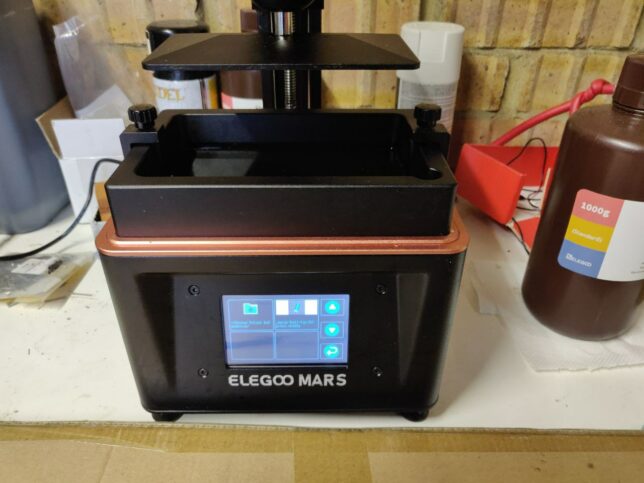
The printer I am using is the Elegoo Mars. It uses UV photocuring technology to print models out of a liquid resin. The printing plate lifts up from the resin basin and UV light is shone from underneath, emitted by an LCD panel. This cures the resin on the print plate one layer at a time.

elegoo mars uv lcd resin printer

The main benefit of this compared to FDM printers is that you can get a really good level of detail (resolution). One of the bigger downsides to this however is that the cured resin is more brittle.

The Elegoo Mars was a very cheap entry point for me to get started and I’m happy with the limitations (especially when considering the great detail that is achievable).

Printing a fake water tank handle

The reason I had this idea was to put in a fake water tank handle for our outdoors water butt.

Our 1.5 year old is currently a huge fan of running water and has learned how to open this tap and drain our collected rain water. One option would have been a lockable cover to go over the tap handle, but why do that when you can create your own solution?

I pulled out the tap handle and observed how it lets the water out when turned. Basically the tap handle shaft has a circular cut out on one side. Turning this aligns the hole with the opening in the water tank and allows water to flow through. Turning it further closes the hole again.

The ‘fake’ tap handle solution is pretty simple, replicate the part, but close the hole in the shaft.

Design

I’ve used Blender for more creative projects in the past, but decided to move onto something more suited for CAD and 3D printing. A friend recommended Fusion 360. After trying it out for this project I can highly recommend it.

It allows you to design your parts in stages. If at some point you want to reconfigure the design and change measurements, the process is simple. You go to that stage, apply the new measurement, and the software will ‘replay’ that through the remaining stages. Your whole design adjusts accordingly.

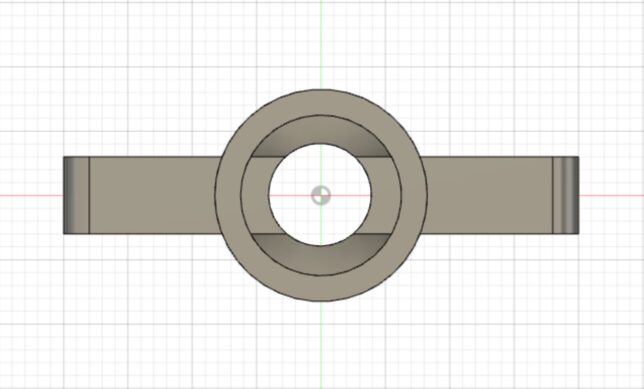
top view of the design
water tap design in fusion 360
The water butt tap design with no hole in the central shaft

Result

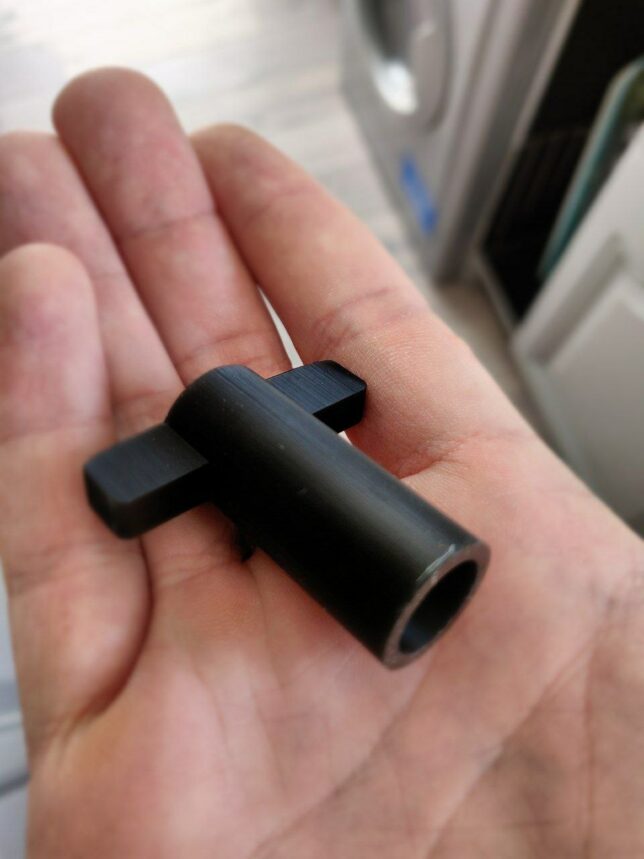
The resulting print shown below is actually the second iteration. The first design I made didn’t have a strong enough handle.

Here is the ‘fake’ water tap 3D print in action.

In the video above you can see the water tap in action. Turning it to any angle keeps the water flow blocked now. On the ground you can see the original water tap which is now just simply kept out of reach for when we actually need to use the water.

It is possible to pull the fake tap out as you can see above, but for a small toddler it is not easily possible. In order to keep it water tight, I had to get the measurement just right so as not to leak, but also not be too tight to remove again.

This is post #6 in my effort towards 100DaysToOffload.