Blackberry (BES) user able to receive e-mail but can’t send

There can be many different causes for the problem where a Blackberry user can receive e-mail, but cannot send out. A good place to start troubleshooting is the Application Event log on your BES Server.

In this case we have a user who is unable to send e-mail but they can still receive e-mail. After some inspecting the event logs, I found some event ID “20000” logs, which read as follows:

Event Type:    Warning
Event Source:    BlackBerry Messaging Agent BES01 Agent 1
Event Category:    None
Event ID:    20000
Date:        03/03/2010
Time:        18:43:00
User:        N/A
Computer:    BES01
Description:
{useremailaddress@domainname.com} Send() failed: ERR_MAILBOX_FULL, Tag=173571

It is quite clear that this is indicating a full mailbox (or at least a restriction on the mailbox which only allows the user to receive e-mail and not send once this limit has been reached). Your next steps should be to get the user to clear out their mailbox to free up some space, or to increase their mailbox size limit or send limit size in Exchange.

Blackberry Technical Documentation describes this event error in more detail as follows:

The BlackBerry device user has reached the mailbox storage limit and is not permitted to send email messages until the Microsoft Information Store size returns to an acceptable range. The Blackberry device user can receive email messages, but cannot send email messages. Troubleshooting: Delete email messages from the BlackBerry device user’s mailbox and empty their Deleted Items folder.

So clearing out the user’s mailbox or increasing their exchange mailbox size limits should clear this issue up. If you are experiencing the same symptoms, but are not getting this particular event ID message, there are other avenues to go down with regard to troubleshooting. One that I often check is to ensure that the BES admin account has got full “Send As” permission on the user’s account in Active Directory. (You’ll need to view Active Directory in Advanced Mode to see the permissions tab on the user object though).

If all else fails doing a wipe of the user’s BlackBerry device, followed by a new Enterprise Activation is a good fallback point. Provided everything else is working correctly (and all other users seem to be sending and receiving OK) this should clear up any issues for the user in question. Of course you should just about exhaust all other avenues of investigation before trying this though!

Create new mailboxes / AD objects using Powershell & Exchange 2007

Here is something new I learnt today. Using powershell scripting can potentially save you a lot of time performing common day to day tasks. In this example I use Powershell to create a new mailbox and Active Directory user object with Exchange 2007 running in my test environment.

1. First off start by opening the “Exchange Management Shell”. This will load a powershell window for you.

2. Now we need to create a password variable and assign a password string to this in the form of a “SecureString”. Issue the following command in your shell window :

$Password = ConvertTo-SecureString -string “TryPassword123” -asPlainText -Force

3. If you now type “$Password” and press Enter, you should get a prompt back saying “System.Security.SecureString”. This means you your plain text password is now stored as a SecureString variable and is ready to use.

4. Next we will run the command to do all the work (That is add the user and mailbox to Active Directory / Exchange 2007). Issue this command next (substituting the values relevant for your situation of course! :

New-Mailbox -Name “John Smith” -Database “First Storage Group\Mailbox Database” -Password $Password -UserPrincipalName John.Smith@youremaildomain.co.uk -Alias John.Smith -DisplayName “John Smith” -FirstName “John” -Initials “JS” -LastName “Smith” -OrganizationalUnit “Home Users”

You should get a prompt back giving you a summary of what has been done.

This screenshot illustrates the above few steps :

5. After you have run the New-Mailbox command successfully, run “Get-Mailbox” to get a list of current mailboxes residing on your Exchange 2007 server. This should now show your new mailbox.

Creating Primary and Secondary Domain Controllers (Windows 2003 Server)

I was creating a new Domain the other day for testing purposes and thought I would document the process as I went along to put a short tutorial up over here.

This is how to create a Primary Domain Controller (Windows Server 2003) as well as a Secondary DC to act as a backup. I will not be covering FSMO roles or changing of FSMO roles in this tutorial however. The how-to assumes that you have two freshly installed Windows 2003 Servers.

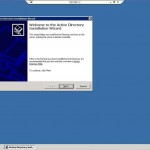
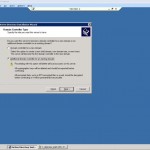
1. Create your first DC. On your first freshly installed Windows 2003 Server machine, go to Start->Run, then type “dcpromo” then hit enter. Alternatively you can go to the “Manage your server” wizard and add a new Role of “Domain Controller (Active Directory)”. After running dcpromo, click Next till you get to the “Domain Controller Type” page. Here we will select “Domain controller for new domain”.

2. Next we select “Domain in a new forest”.

3. You can now enter your full DNS name for the new domain. I used “shogan.local”. Don’t use your web domain here as this is an “internal domain name”. Use something like “yourcompanyname.local”.

4. For the netbios name, leave as default. It should just be a shortened version of your domain specified in step 3. I believe this to help with compatibility when NT, 95, 98 machines are looking at a Windows 2000 or higher domain.

5. Next you can specify the location of your database and log folders. I usually leave mine in their default location.

6. Same for the Shared System Volume folder. I leave mine as default (C:\WINDOWS\SYSVOL).

7. Next the wizard will check to see if you have DNS installed on this machine. If not, select the second option “Install and Configure the DNS server on this computer”. This is the easiest option and the installation will set DNS up for you.

8. The next screen deals with compatibility. I selected the second option here (Windows 2000 and 2003) as I won’t have any other servers below Windows 2000 or 2003 on this particular domain.

9. Enter your Directory Services restore mode password on the next screen and keep this safe.

10. Continue the wizard and the installation will begin.

11. Once the Active Directory Installation wizard is complete, click Finish, then restart the server.

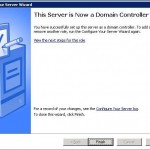
12. Once it has restarted, you should get a screen stating “This Server is now a Domain Controller”. Click Finish and you are done with the first DC!

13. Next, I go to the second server with a fresh install of Windows 2003 Server.

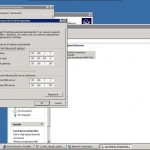
14. Set your IP addresses up. Now that you have a DNS server on the other DC, you can point this Server’s Preferred DNS address to the IP of the Primary DC we just set up. In this case my Primary DC has an IP of 192.168.1.1 and the second DC we are about to set up gets an IP of 192.168.1.2.

15. Run dcpromo on the new server.

16. This time we are going to choose “Additional Domain Controller for an existing domain” in the Active Directory installation wizard.

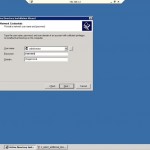
17. The next screen asks you for your “network credentials”. Enter your new domain administrator username and password (Set up from the first DC). This should be “Administrator” and whatever password you specified during the install. Enter your domain name specified in step 3 above. For example I used “shogan.local”.

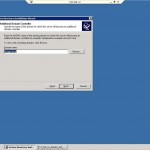
18. Enter the domain name again (shogan.local) in my case on the next screen.

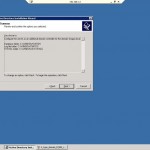
19. Complete the rest of the installation wizard as we did in the steps for the first DC. This just involves specifying log folders etc… I usually leave the rest of the options at their defaults. Once you are done, set up should ask you to restart the server.

20. Restart once complete and login with your domain admin account. You should now have a fully functional secondary DC. Any changes you make in Active directory on either server should now replicate across to the other DC.

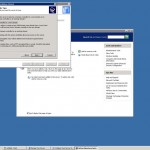
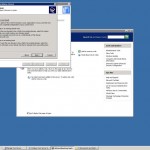
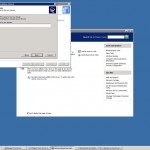
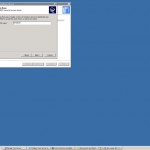
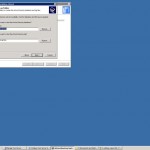
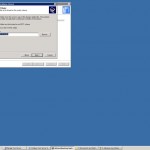
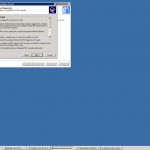
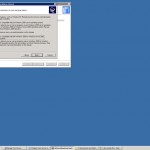
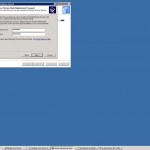
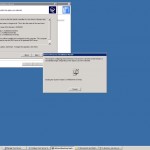
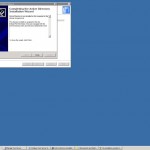
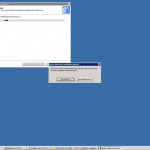
Here are the images related to each step of the installation process. Click any thumbnail to bring up the larger version.

Feel free to post any questions or comments in the comments section below.