Troubleshooting Amazon EKS Worker Nodes not joining the cluster

mechanic underneath car fixing things

I’ve recently been doing a fair bit of automation work on bringing up AWS managed Kubernetes clusters using Terraform (with Packer for building out the worker group nodes). Read on for some handy tips on troubleshooting EKS worker nodes.

Some of my colleagues have not worked with EKS (or Kubernetes) much before and so I’ve also been sharing knowledge and helping others get up to speed. A colleague was having trouble with their newly provisioned personal test EKS cluster found that the kube-system / control plane related pods were not starting.  I assisted with the troubleshooting process and found the following…

Upon diving into the logs of the kube-system related pods (dns, aws CNI, etc…) it was obvious that the pods were not being scheduled on the brand new cluster. The next obvious command to run was kubectl get nodes -o wide to take a look at the general state of the worker nodes.

Unsurprisingly there were no nodes in the cluster.

Troubleshooting worker nodes not joining the cluster

The first thing that comes to mind when you have worker nodes that are not joining the cluster on startup is to check the bootstrapping / startup scripts. In EKS’ case (and more specifically EC2) the worker nodes should be joining the cluster by running a couple of commands in the userdata script that the EC2 machines run on launch.

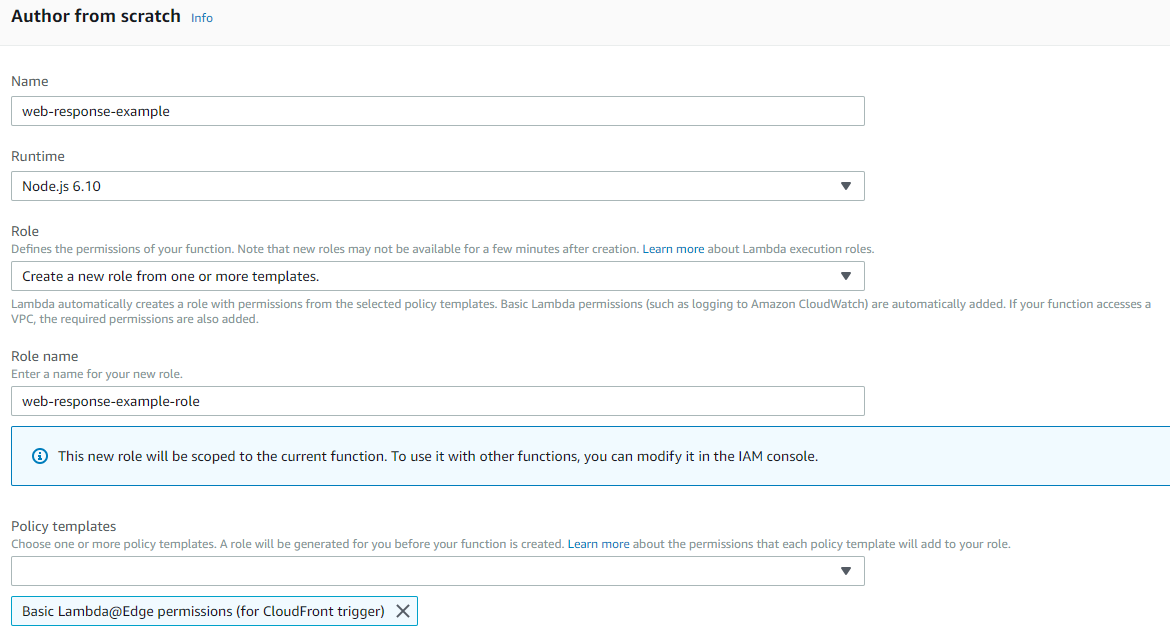
If you’re customising your worker nodes with your own custom AMI(s) then you’ll most likely be handling this userdata script logic yourself, and this is the first place to check.

The easiest way of checking userdata script failures on an EC2 instance is to simply get the cloud-init logs direct from the instance. Locate the EC2 machine in the console (or the instance-id inspect the logs for failures on the section that logs execution of your userdata script.

  • In the EC2 console: Right-click your EC2 instance -> Instance Settings -> Get System Log.
  • On the instance itself:
    • cat /var/log/cloud-init.log | more
    • cat /var/log/cloud-init-output.log | more

Upon finding the error you can then check (using intuition around the specific error message you found):

  • Have any changes been introduced lately that might have caused the breakage?
  • Has the base AMI that you’re building on top of changed?
  • Have any resources that you might be pulling into the base image builds been modified in any way?

These are the questions to ask and investigate first. You should be storing base image build scripts (packer for example) in version control / git, so check the recent git commits and image build logs first.

Editing a webapp or site’s HTTP headers with Lambda@Edge and CloudFront

dark clouds in the sky

Putting CloudFront in front of a static website that is hosted in an S3 bucket is an excellent way of serving up your content and ensuring it is geographically performant no matter where your users are by leveraging caching and CloudFront’s geographically placed edge locations. You can go one step further and customise your HTTP headers with Lambda@Edge and CloudFront.

The basic Cloudfront and S3 origin setup goes a little something like this:

  • Place your static site files in an S3 bucket that is set up for static web hosting
  • Create a CloudFront distribution that uses the S3 bucket content as the origin
  • Add a cache behaviour to the distribution

This is an excellent way of hosting a website or webapp that can be delivered anywhere in the world with ultra low latency, and you don’t even have to worry about running your own webserver to host the content. Your content simply sits in an S3 bucket and is delivered by CloudFront (and can be cached too).

Modifying HTTP headers with Lambda@Edge and CloudFront

But what happens if you want to get a little more technical and serve up custom responses for any HTTP requests for your website content? Traditionally you’d need a custom webserver that you could use to modify the HTTP request/response lifecycle (such as Varnish / Nginx).

That was the case until Lambda@Edge was announced.

I was inspired to play around with Lambda@Edge after reading Julia Evan’s blog post about Cloudflare Workers, where she set up something similar to add a missing Content-Type header to responses from her blog’s underlying web host. I wanted to see how easy it was to handle in an AWS setup with S3 hosted content and CloudFront.

So here is a quick guide on how to modify your site / webapp’s HTTP responses when you have CloudFront sitting in front of it.

Note: you can run Lambda@Edge functions on all these CloudFront events (not just the one mentioned above):

  • After CloudFront receives a request from a viewer (viewer request)
  • Before CloudFront forwards the request to the origin (origin request)
  • After CloudFront receives the response from the origin (origin response)
  • Before CloudFront forwards the response to the viewer (viewer response)
  • You can return a custom response from Lambda@Edge without even sending a request to the CloudFront origin at all.

Of course the only ones that are guaranteed to always run are the Viewer type events. This is because origin request and origin response events only happen when the requested object is not already cached in an edge location. In this case CloudFront forwards a request to the origin and will receive a response back from the origin (hopefully!), and these events you can indeed act upon.

How to edit HTTP responses with Lambda@Edge

Create a new Lambda function and make sure it is placed in the us-east-1 region. (There is a requirement here by AWS that the function must be created in the US East / N. Virginia Region). When you create the function, it is deployed to all regions across the world with their own replication version of the Lambda@Edge function.

Fun fact: your CloudWatch logs for Lambda@Edge will appear in the relevant region where your content is requested from – i.e. based on the region the edge location exists in that ends up serving up your content.

You’ll need to create a new IAM Role for the function to leverage, so use the Lambda@Edge role template.

Select Node 6.10 runtime for the function. In the code editor, setup the following Node.js handler function which will do the actual header manipulation work:

exports.handler = (event, context, callback) => {
    const response = event.Records[0].cf.response;
    const headers = response.headers;
    
    headers['x-sean-example'] = [{key: 'X-Sean-Example', value: 'Lambda @ Edge was here!'}];
    
    callback(null, response);
};

basic lambda function configuration

The function will receive an event for every request passing through. In that event you simply retrieve the CloudFront response event.Records[0].cf.response and set your required header(s) by referencing the key by header name and setting the value.

Make sure you publish a version of the Lambda function, as you’ll need to attach it to your CloudFront behavior by ARN that includes the version number. (You can’t use $LATEST, so make sure you use a numerical version number that you have published).

Now if you make a new request to your content, you should see the new header being added by Lambda@Edge!

HTTP header view showing modified header and value.

Lambda@Edge is a great way to easily modify CloudFront Distribution related events in the HTTP lifecycle. You can keep response times super low as the Lambda functions are executed at the edge location closest to your users. It also helps you to keep your infrastructure as simple as possible by avoiding the use of complicated / custom web servers that would otherwise just add unecessary operational overhead.

Running an S3 API compatible object storage server (Minio) on the Raspberry Pi

I’ve recently become interested in hosting my own local S3 API compatible object storage server at home.

So tonight I set about setting up Minio.

Image result for minio

Minio is an object storage server that is S3 API compatible. This means I’ll be able to use my working knowledge of the Amazon S3 API and tools, but to interact with my own, locally hosted storage service running on a Raspberry Pi.

I had heard about Zenko before (an S3 API compatible object storage server) but was searching around for something really lightweight that I could easily run on ARM architecture – i.e. my Raspberry Pi model 3 I have sitting on my desk right now. In doing so, Minio was the first that I found that could easily be compiled to run on the Raspberry Pi.

The goal right now is to have a local object storage service that is compatible with S3 APIs that I can use for home use. This has a bunch of cool use cases, and the ones I am specifically interested in right now are:

  • Being able to write scripts that interact with S3, but test them locally with Minio before even having to think about deploying them to the cloud. A local object storage API is going to be free and fast. Plus it’s great knowing that you’re fully in control of your own data.
  • Setting up a publically exposable object storage service that I can target with serverless functions that I plan to be running on demand in the cloud to do processing and then output artifacts to my home object storage service.

The second use case above is what I intend on doing to send ffmpeg processed video to. Basically I want to be able to process video from online services using something like AWS Lambda (probably using ffmpeg bundled in with the function) and output the resulting files to my home storage system.

The object storage service will receive these output files from Lambda and I’ll have a cronjob or rsync setup to then sync the objects placed into my storage bucket(s) to my home Plex media share.

This means I’ll be able to remotely queue up stuff to watch via a simple interface I’ll expose (or a message queue of some sort) to be processed by Lambda, and by the time I’m home everything will be ready to watch in Plex.

Normally I would be more interesting in running the Docker image for Minio, but at home I want something that is really cheap to run, and so compiling Minio for Raspberry Pi makes total sense to me here, as this device is super cheap to level powered on 24/7 as opposed to running something beefier that would instead run as a Docker host or lightweight Kubernetes home cluster.

Here’s the quick start up guide to get it running on Raspberry Pi

You’ll basically download Go, extract it, set it up on your path, then use it to compile Minio’s source code into an ARM compatible binary that you can run on your pi.

wget https://dl.google.com/go/go1.10.3.linux-armv6l.tar.gz
sudo tar -C /usr/local -xzf go1.10.3.linux-armv6l.tar.gz
export PATH=$PATH:/usr/local/go/bin # put into ~/.profile
source .profile
go get -u github.com/minio/minio
mkdir ~/minio-data
cd go/bin
./minio server ~/minio-data/

And you’re up and running! It’s that simple to get going quickly.

Running interactively you’ll get a default access and secret key in the terminal, so head on over to the Web UI / interface to check things out: http://your-raspberry-pi-ip-or-hostname:9000/minio/

Enter your credentials to login.

Of course at this stage you can also start using your S3 API compatible command line tools to start working with your new object storage server too.

Nice!

vCenter Server Appliance VM fails to boot with fsck failed message


I had a storage outage to deal with recently, and after the datastores on this storage were taken down, a vCenter Server Appliance VM on the storage got some corrupted files and would not boot. Upon start up, I was greeted with this message:

vcenter-server-appliance-fsck-failed

The error message reads:

fsck failed.  Please repair manually and reboot.  The root
file system is currently mounted read-only.  To remount it
read-write do

After trying the mount command using the maintenance mode bash shell, I restarted and found that the appliance still did not boot properly. I found a thread on the VMware community forums where someone had the same issue and was able to run e2fsck to fix the disk issues. I tried this and found it fixed a whole heap of disk errors on the /dev/sda3 mount, but on restart I noticed more issues on the /dev/sdb2 mount, so I ran the e2fsck command again for this path, and was able to finally reboot the appliance successfully. The commands I ran to resolve were essentially:

  • mount -n -o remount,rw /
  • e2fsck -y /dev/sda3
  • e2fsck -y /dev/sdb2
  • CTRL-D to reboot after fixing the errors using e2fsck


VMware T10 compliant VAAI integration and HP P2000 G3 FC storage


I’ve recently been updating firmware on some development and testing storage and found that the HP P2000 storage array firmware update TS251R004 and above enable the HP P2000 G3 FC enable T10 compliance for the hardware.


To quote VMware’s documentation on their VAAI implementation specific to T10 compliance:

The second required component can be referred to as a VAAI plug-in specific to the VAAI filter. It implements vendor-specific VAAI functions such as ATS, XCOPY and WRITE_SAME. There were different implementations of the VAAI block primitives in vSphere 4.1, but all of the primitives in vSphere 5.0 have been ratified by T10, so any array that is T10 compliant should be able to use VAAI.


This means that you no longer need to be running the HP P2000 VAAI plugin software directly on ESXi hosts. In fact, HP recommend you uninstall and remove the plugin software before you upgrade the firmware on these arrays, otherwise you could suffer from performance degradation and possible loss of access to datastores.

My process was to first of all login to all hosts and check for the presence of the VAAI plugin.

  • SSH into host as root, run find / -name hp_vaaip_p2000
  • Ensure that nothing comes up with the find command, if it does (you see something like this output: /usr/lib/vmware/vmkmod/hp_vaaip_p2000), then you should use this HP document to ensure it is removed correctly: https://h20566.www2.hpe.com/hpsc/doc/public/display?sp4ts.oid=4118559&docId=mmr_kc-0123414&docLocale=en_US – this will involve some setting changes, and removing claim rules as well as removal of the HP P2000 VAAI VIB itself.
  • After verifying nothing came up, check other hosts, and once happy all hosts are clear of the plugin, upgrade the firmware for the P2000 system.
  • Ideally reboot ESXi hosts after the firmware update and ensure access to datastores is still there. Check the hardware acceleration status of datastores – they should show up as “Supported”.