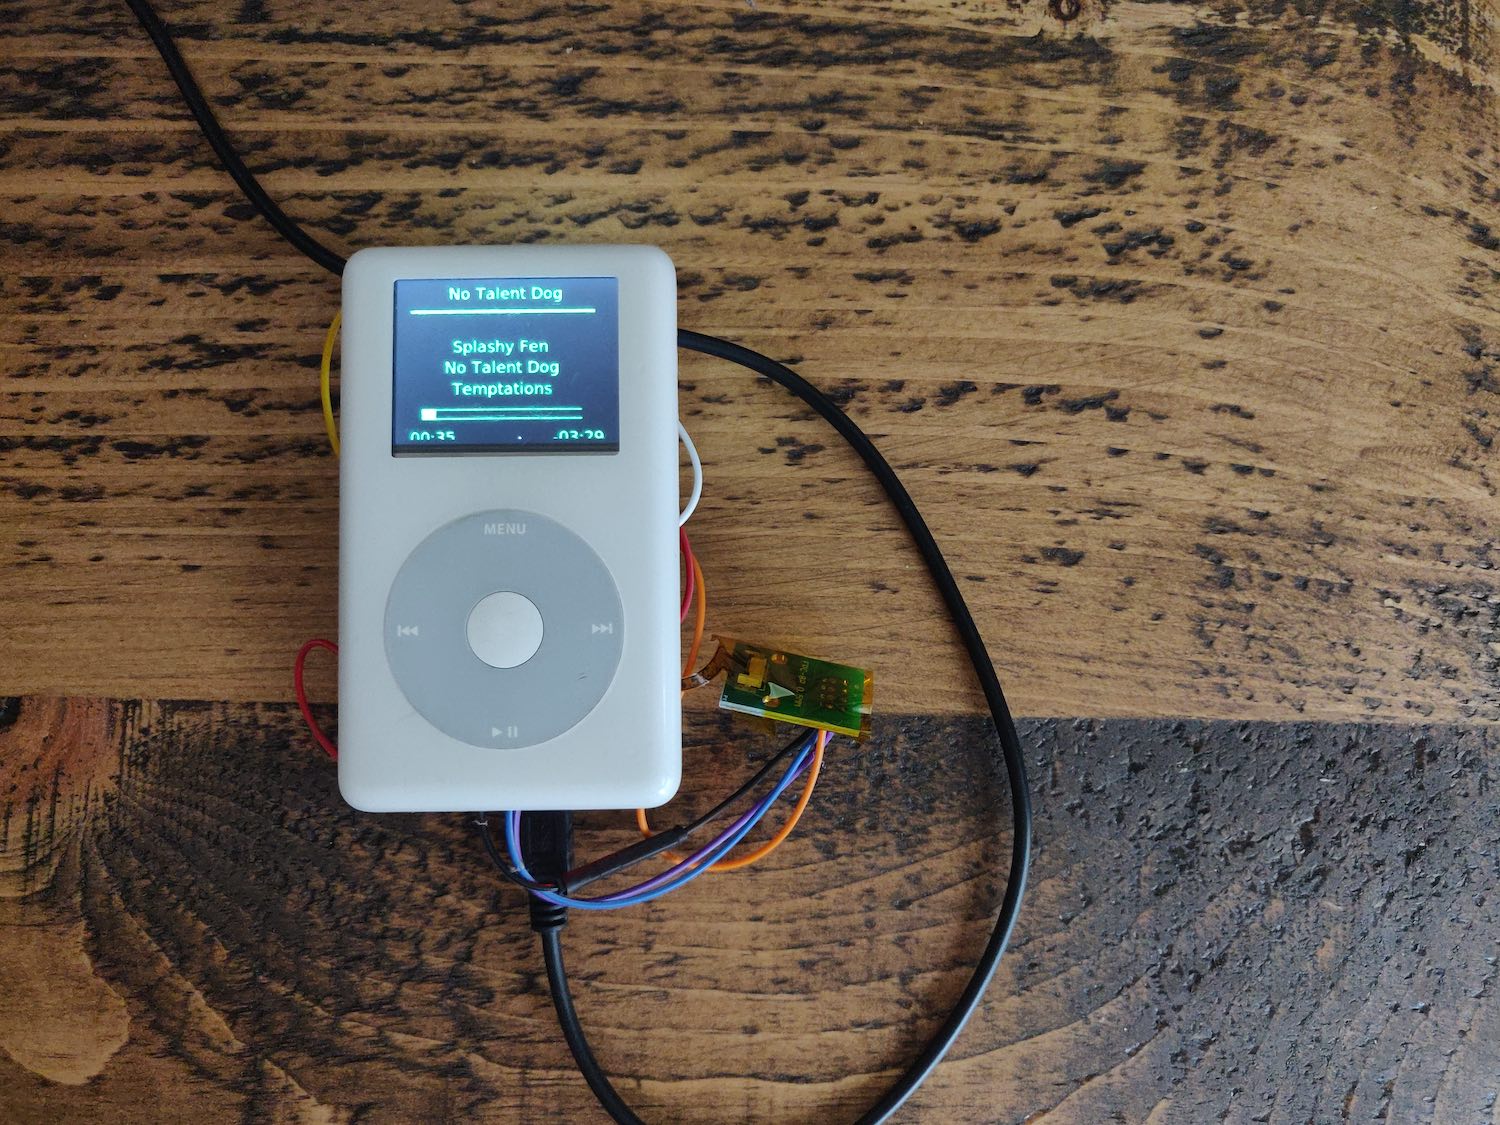
I recently came across the sPot: Spotify in a 4th-gen iPod (2004) project on hackaday.io by Guy Dupont. This post is my go at building Guy’s project from the ground up – the SpotiPod.
Here is my version, up and running, albeit with some hardware leaking out the side for now…
The main components required in terms of hardware are:
- iPod Classic (4th gen) – at least the device case and clickwheel components
- A Raspberry Pi Zero W
- 2″ LCD display (see note further on about an alternative)
- 3.7V 1000mah LiPo battery
- Adafruit boost module (to boost 3.7V to 5V required by the Pi, LCD, etc…
- Adafruit USB charge controller module
Once it’s all connected and configured, you’ll be able to load up your own Spotify playlists and libraries, browse them, and play them all from your iPod Classic device over a bluetooth speaker or remote system.
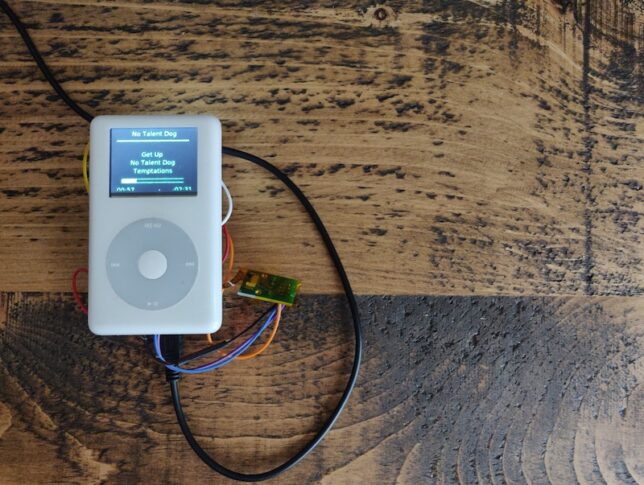
SpotiPod High-level Build
I won’t be getting into the low-level parts of the build, so for specific details I would recommend viewing Guy’s project log and branching off the posts there.
Initial Raspberry Pi Zero W setup with 2″ LCD display
I started off loading Raspbian Lite OS onto an 8GB microSD card and booting up a barebones Pi Zero W. The W version is important because it has WiFi and Bluetooth on the board.
My first task was to configure SSH to start automatically on boot. Useful when I have no display to start with. I also added some of the required software components to begin testing and messing around with, including redis server, compiling the click c++ application that Guy wrote to interface with the iPod’s clickwheel, and setting up some of the X11 components for a basic UI.
Soldering up the connection for the 2″ LCD display was my first hardware connection task. My soldering iron might come out once in a year, so I’m a bit of a novice in this area, but I managed the task on my first go.
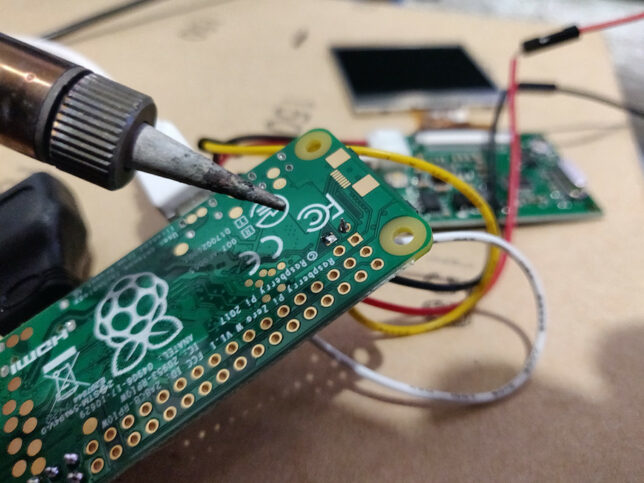
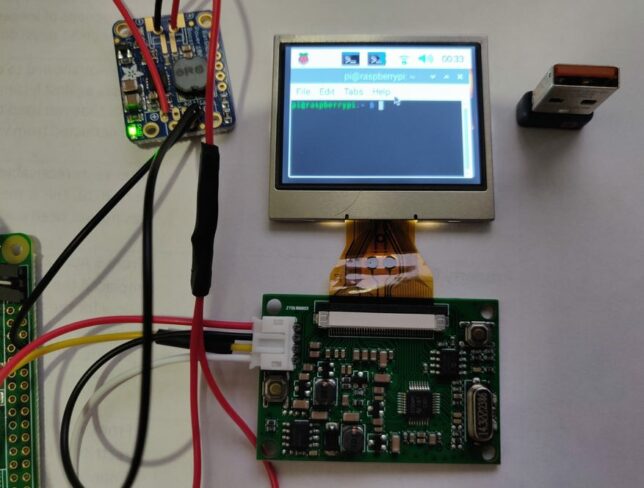
I posted more details here on the 2″ LCD connection and configuration in software.
Connecting the Charge Controller and Voltage Boost Modules
Next up I focused on getting the power delivery working. The goal was to be able to charge the LiPo battery via USB and have the circuit supply 5V to all SpotiPod components where required.
I familiarised myself with the Adafruit module documentation and pinout diagrams before connecting the circuit up.
- Adafruit Powerboost 1000 module
- Adafruit Charge Controller
Here is a useful diagram to follow, posted by Kakoub on the hackaday.io project page, re-hosted here in case the imgur upload ever disappears:

So after getting power delivery and connections soldered in place, and precariously placing all the components away from eachother to prevent shorts, here is where I was at:
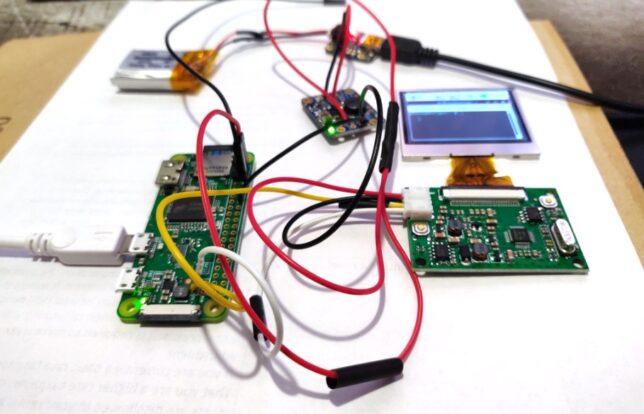
Testing the Click wheel and Software
The click wheel connectivity is made easier with an 8 Pin FPC cable breakout board. I hooked this up next, soldering the 4 wires required for power and data.
The click wheel ribbon connector could then snap into the breakout board ribbon connector. This is by far the most delicate part of the build in my opinion. The ribbon cable is super thin and delicate.
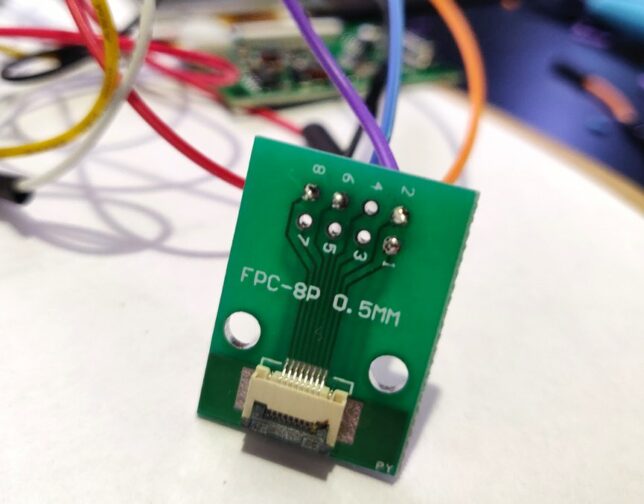
Testing the interface was a case of compiling the clickwheel program with gcc over an SSH connection then executing it with everything connected.
If wired up correctly, the program will output touch and click data to stdout.
Gutting the old iPod Classic
I managed to snag an old iPod Classic 4th gen off eBay for about £20. It wasn’t working, but had the two bits I needed – the chassis, and the clickwheel.
Breaking out my trusty iFixit essentials toolkit, I set about opening it up to remove the unecessary components.
The method I found to work was to pry it open on the left and right edges using the pry tool. Once you can get into one of the edges, slide the tool around, and things get easier.
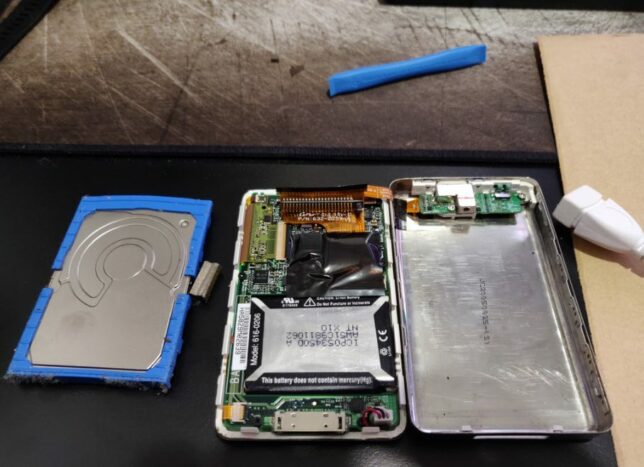
Insulating the case and components
With most of the electronics connected, I began insulating things with polyimide tape. Most importantly, the metal iPod case. I put down about three layers of tape and tried to cover all parts as best I could.
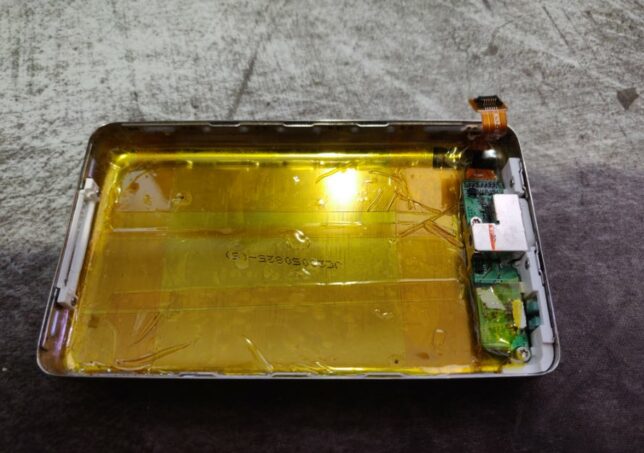
Installing into the iPod Classic Case
This is the tricky part. It’s quite difficult to squeeze all the SpotiPod hardware in.
I started out by strengthening all my soldering connections with a bit of hot glue.
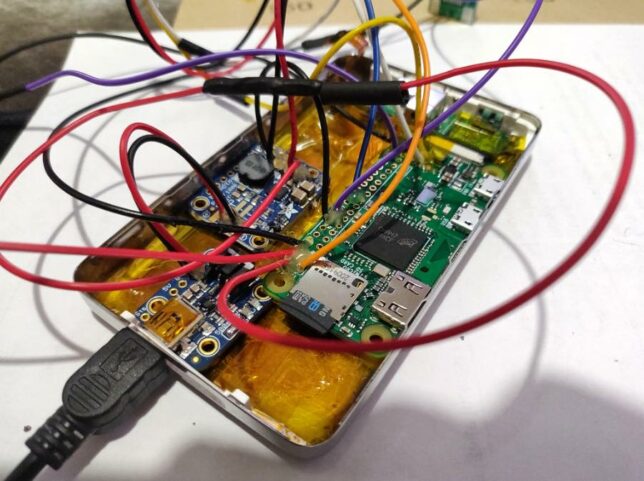
After a bit of arranging, squeezing, and coercing, everything fits… Mostly!
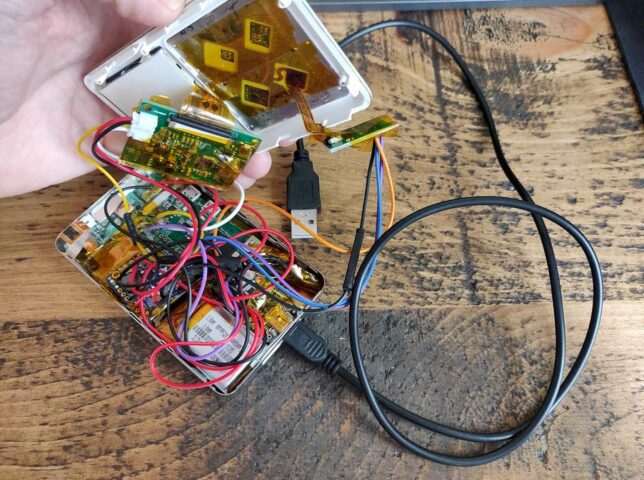
Things are still not perfect though. I need to reduce my wire lengths before I can get the case to fully close.
For now though, everything works and I have a fully functional SpotiPod!
Tips and Tricks
I’ve put together a list of things that might help if you do this yourself. These are bits that I recall getting snagged on:
- Make sure you setup all the X11 and software dependencies correctly. Getting Openbox and the frontend application to launch on start up can be tricky and this is crucial. Pay attention to your /etc/X11/xinit/xinitrc and /etc/xdg/openbox/autostart configurations.
- You don’t have to use the more expensive Adafruit composite LCD display. Ricardo’s build at RSFlightronics uses a much cheaper LCD and some creative approaches to get display output working.
- Watch out for the click wheel ribbon orientation when you connect it to the breakout board!
- Use thin and short length wires for connections where possible. Not too short though as it is useful to be able to open the device up and put the two halves side-by-side.
- Make sure you have a Spotify Premium subscription. I can’t remember exactly, but I’m sure that creating your own app to get your client and secret keys, or some of the scopes required for the app will only work on Premium. (It might have even been spotify connect).
- You’ll need to configure your own Spotify App using the Spotify Developer portal. Keep your client and secret keys safe to yourself. Remember to setup environment variables with these that the openbox session can access.
- The frontend/UI application has a hardcoded reference to the Spotify Connect device as “Spotifypod”. Keep things simple by setting your raspotify configuation to use this name too, otherwise you need to update the code too.
- If you’re struggling to get the software side working at first, it can really help to setup VNC while you debug things. This allows you to get a desktop environment on the Pi Zero and execute scripts or programs in an x session as openbox would.
Thanks again to Guy Dupont for his excellent SpotiPod project and idea. Putting this all together really makes for a fun and rewarding hardware/software hacking experience.
